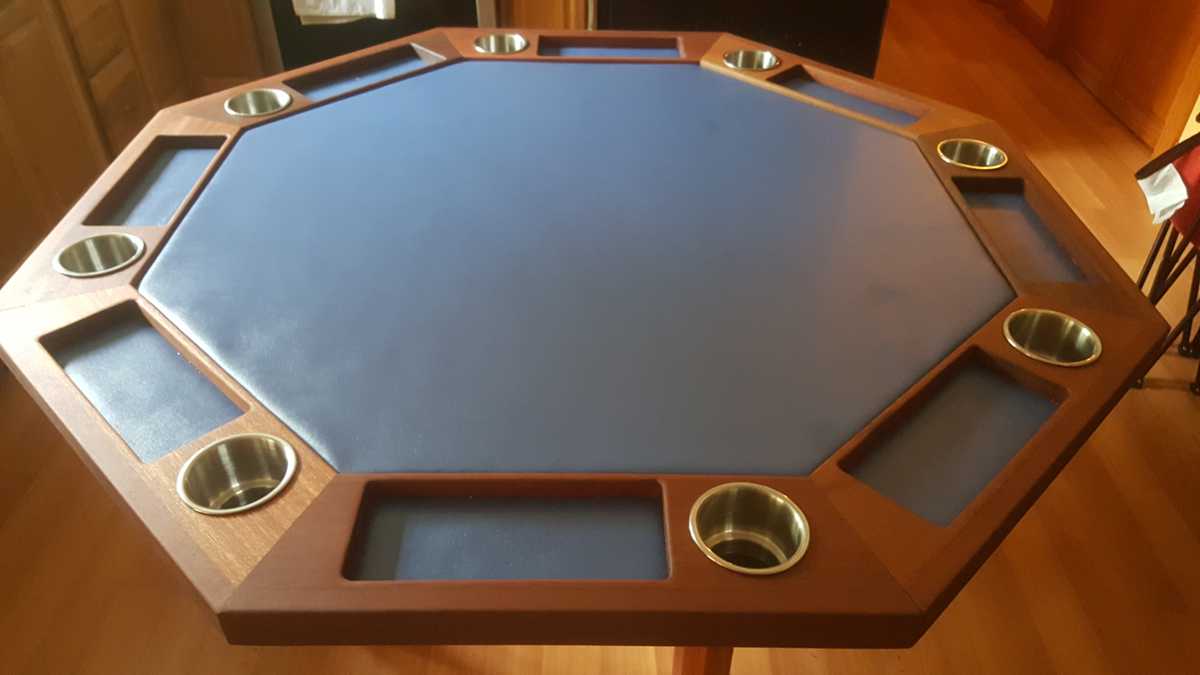
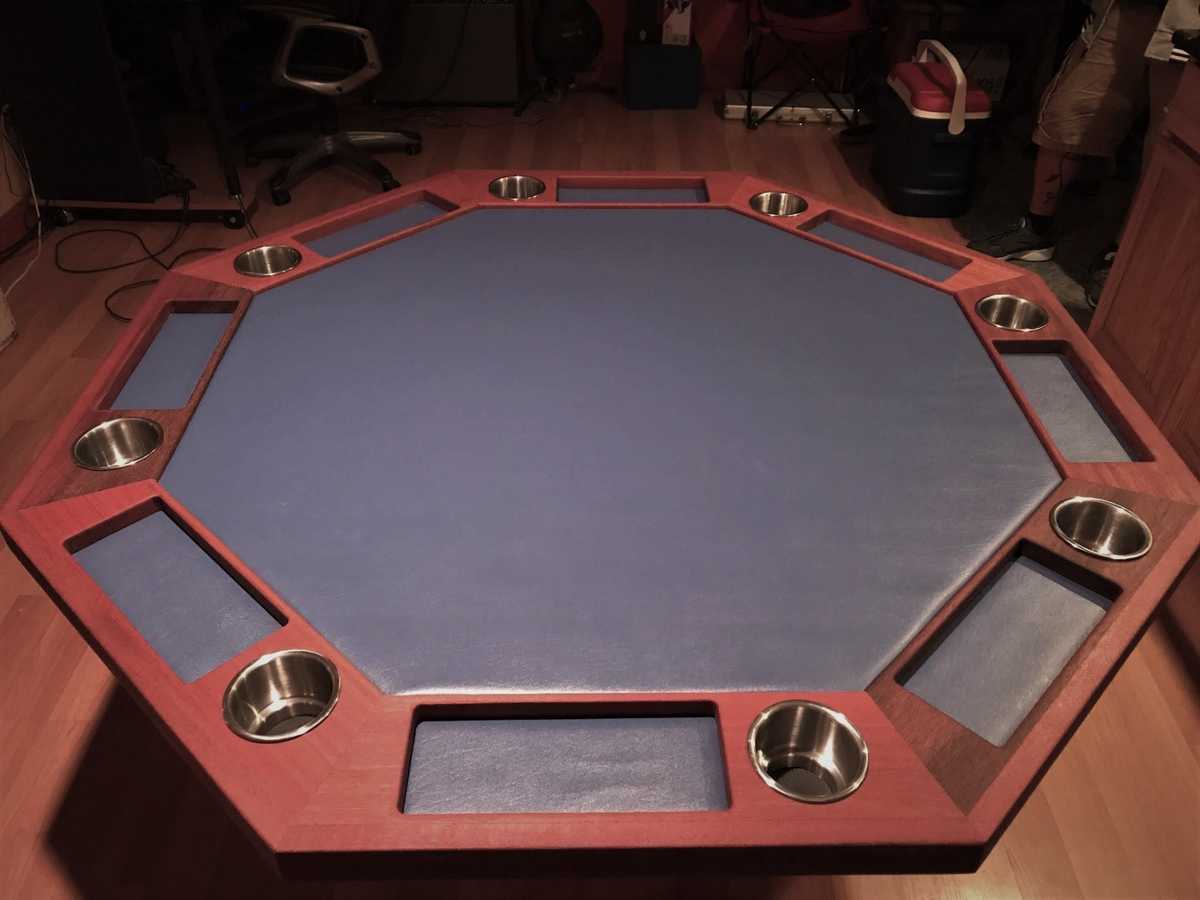
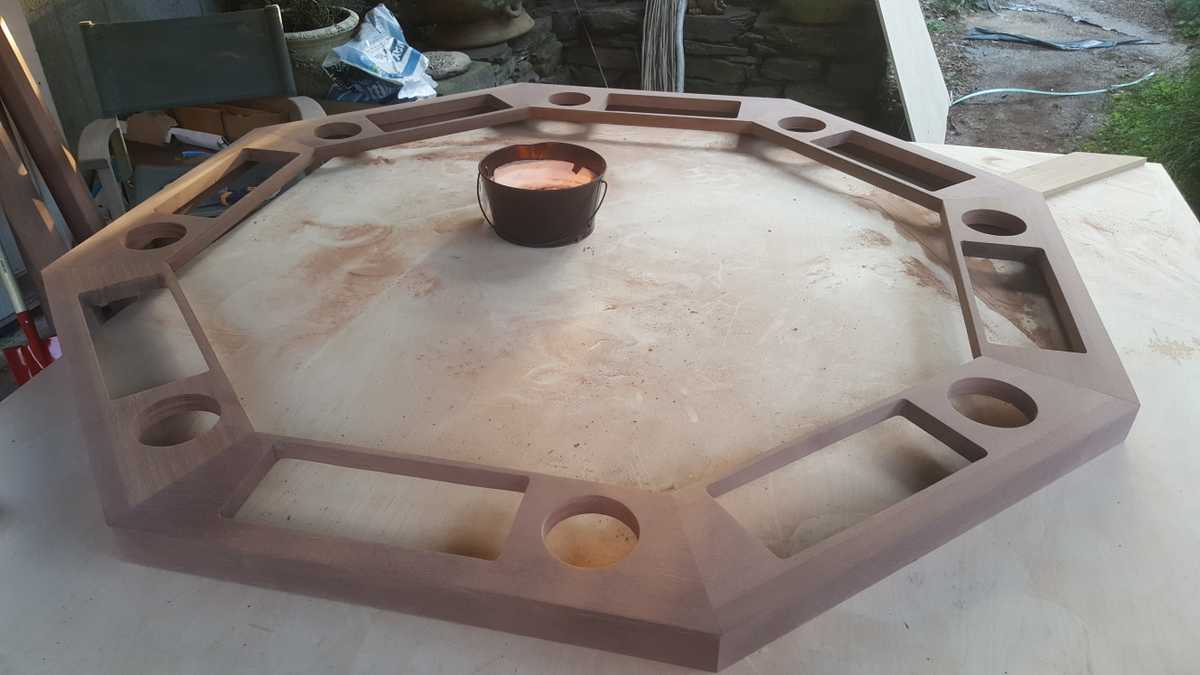
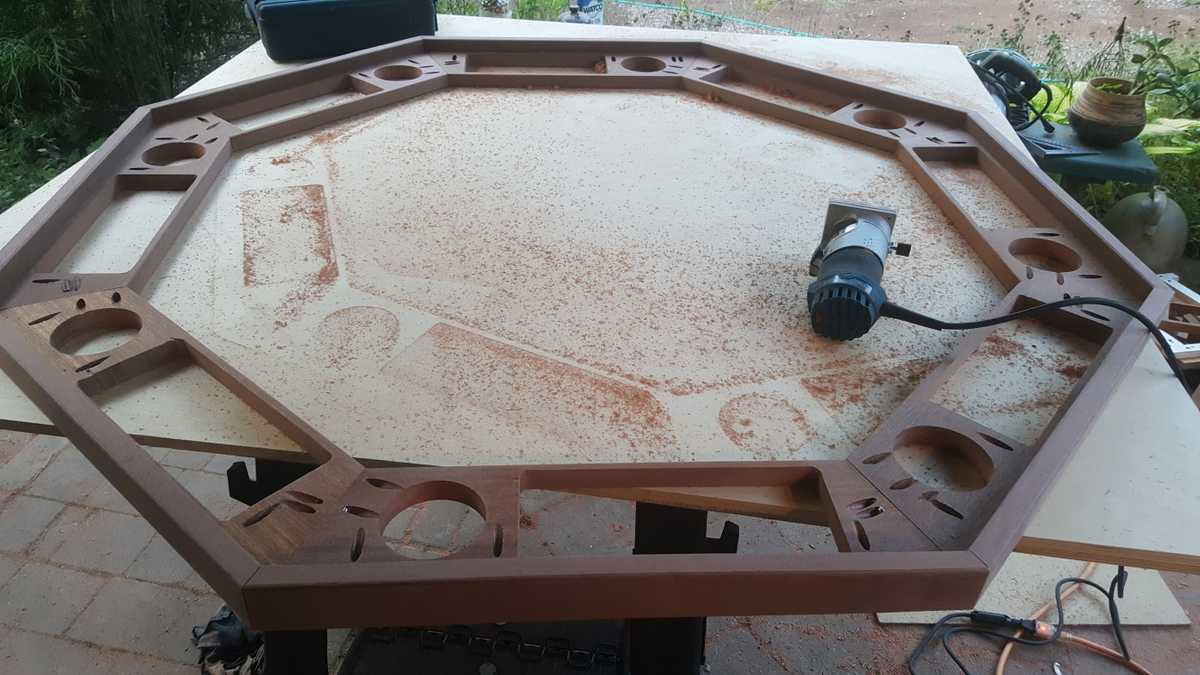
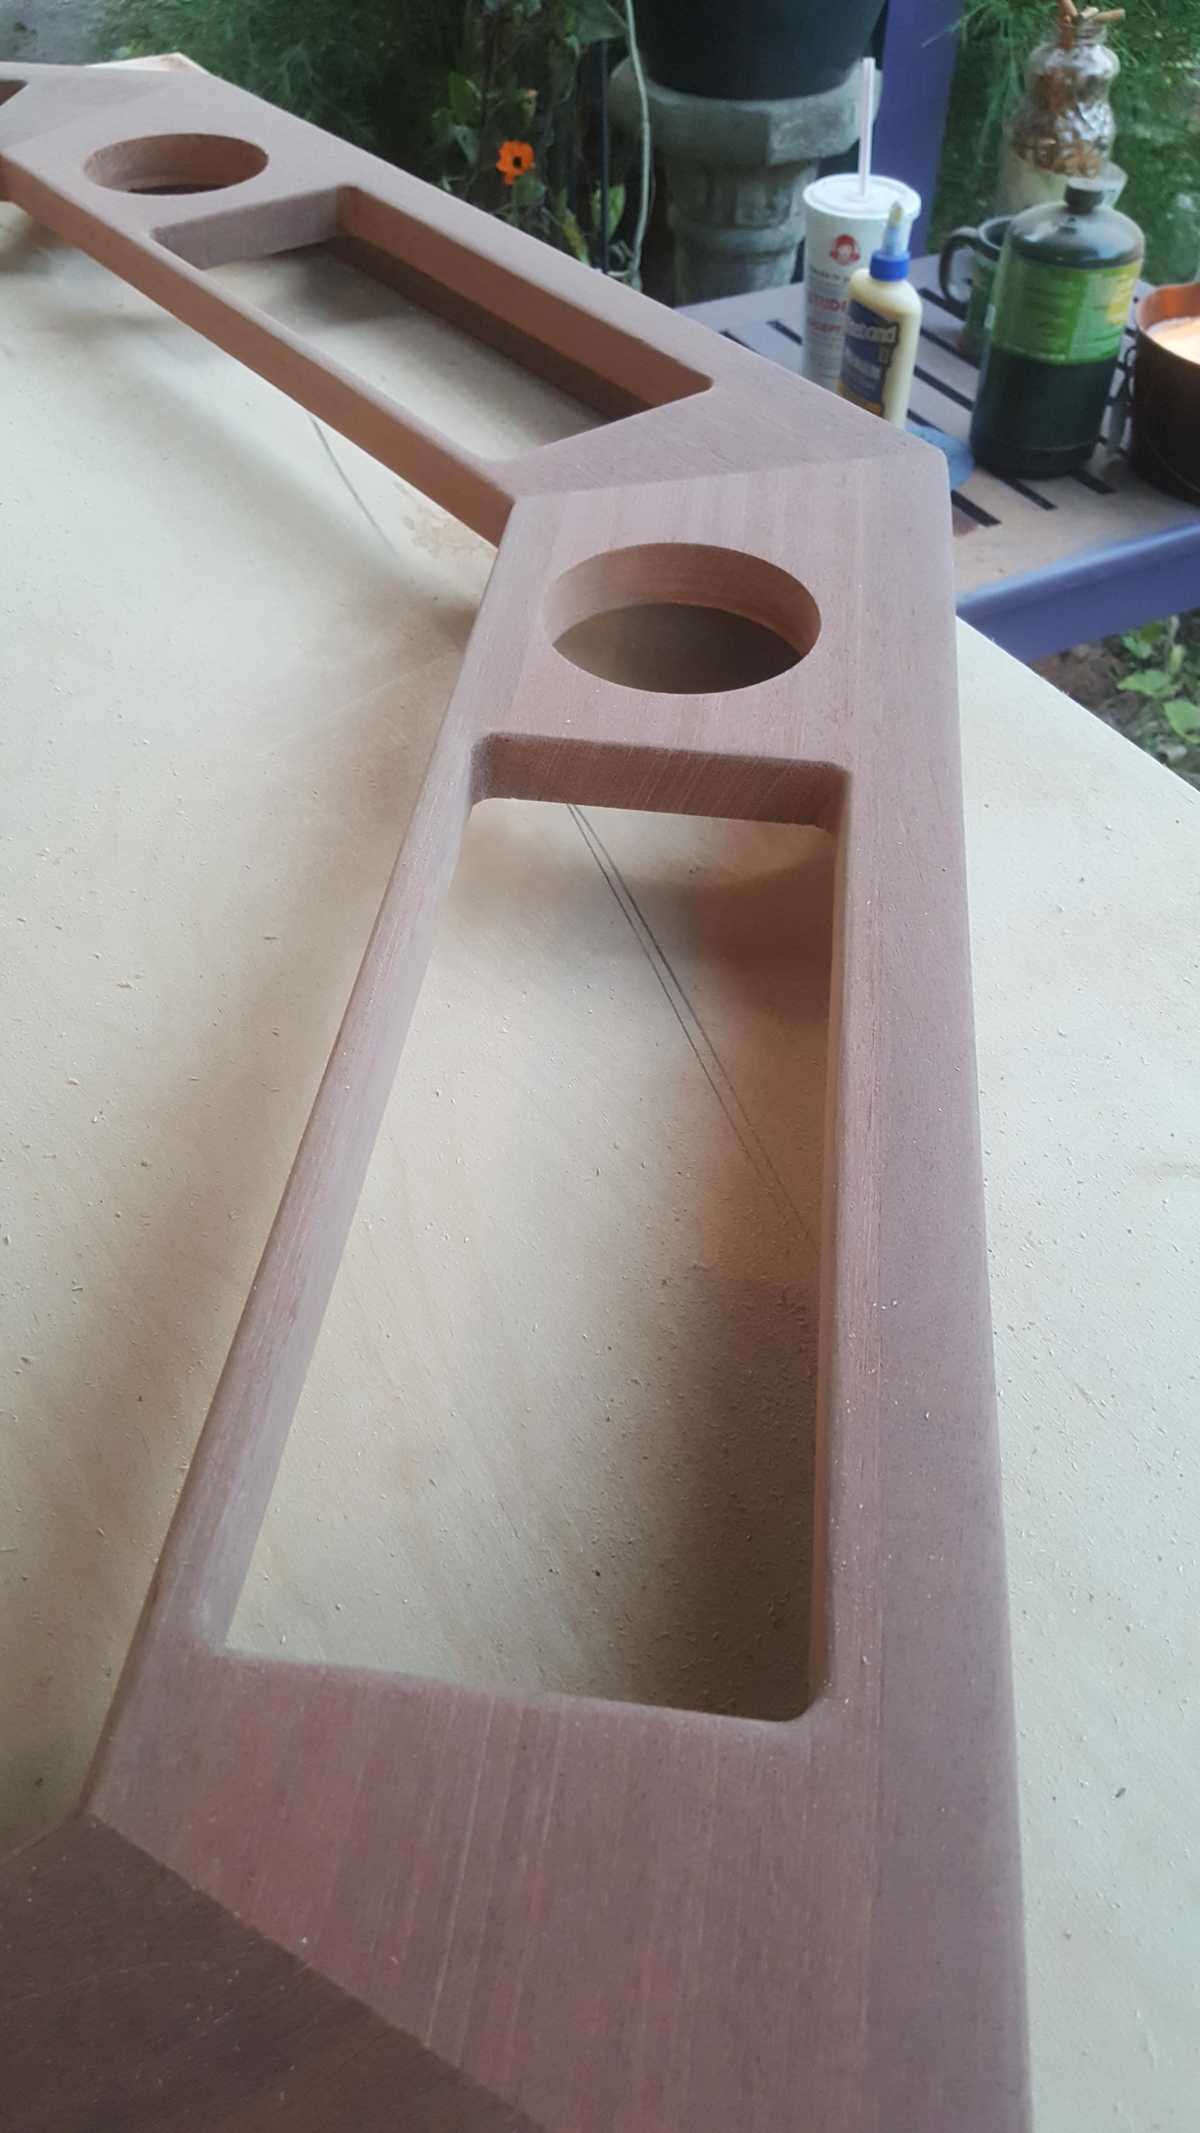
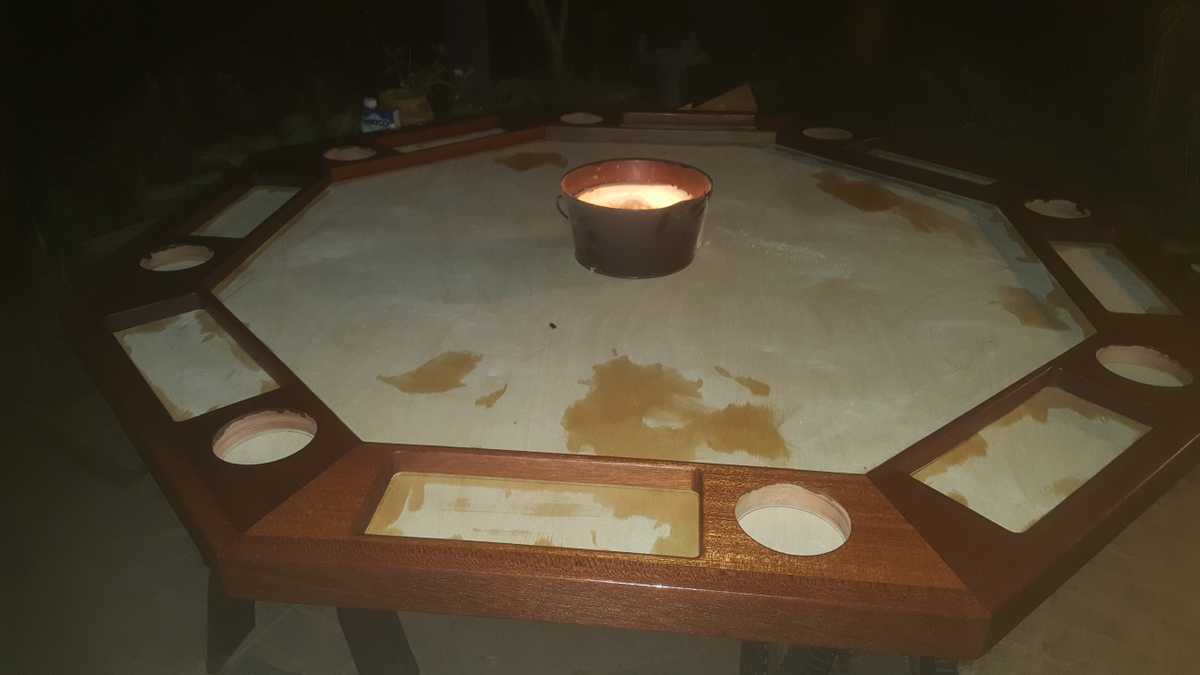
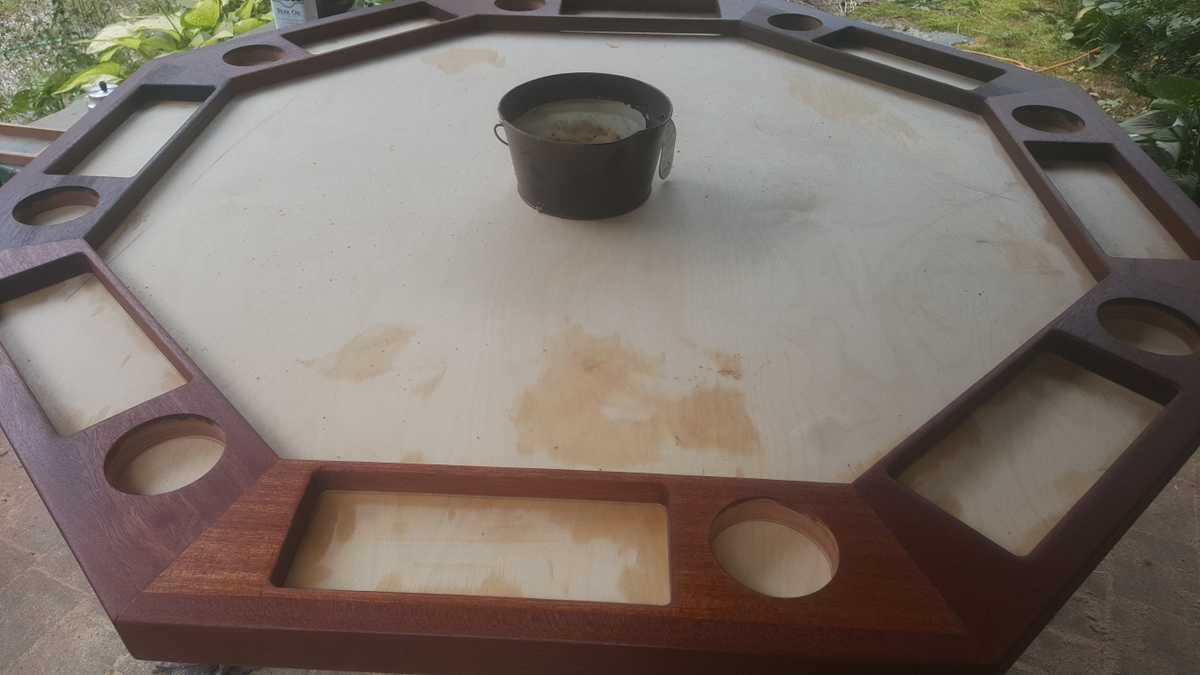
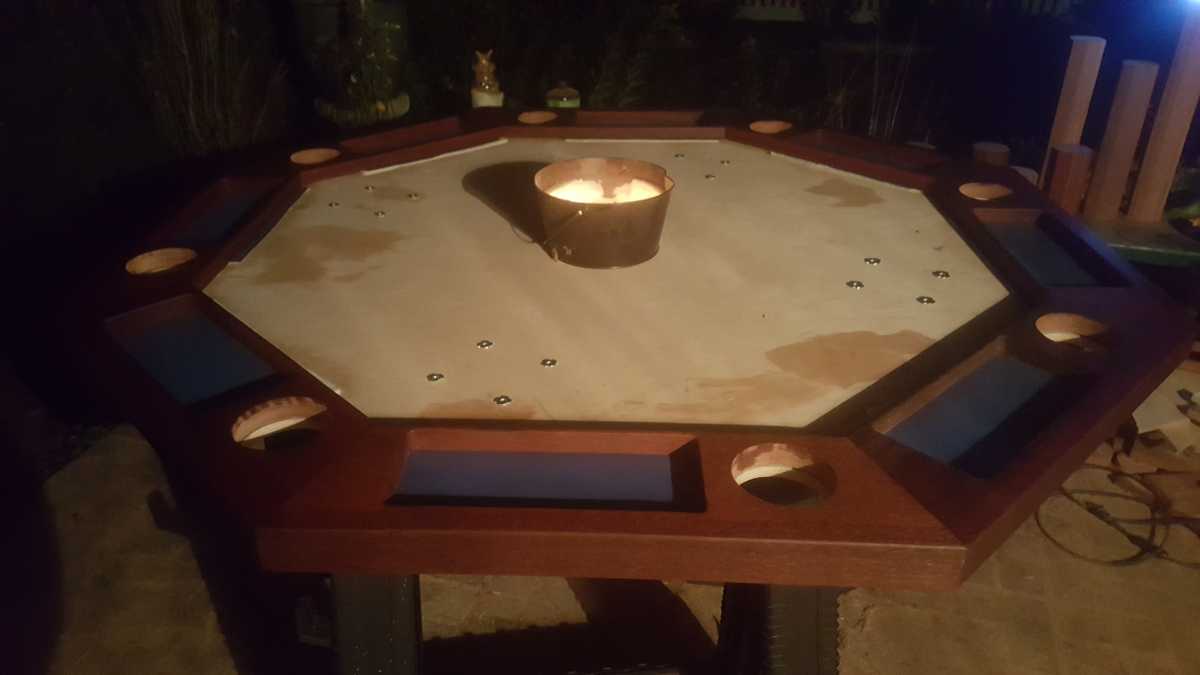
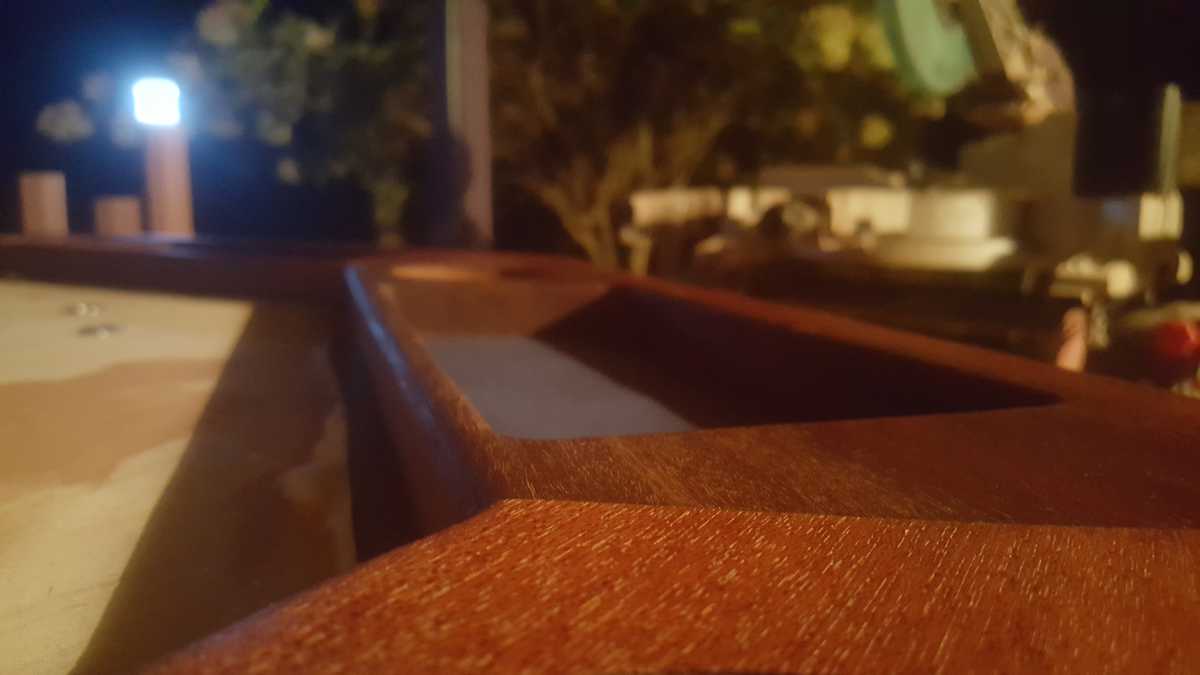
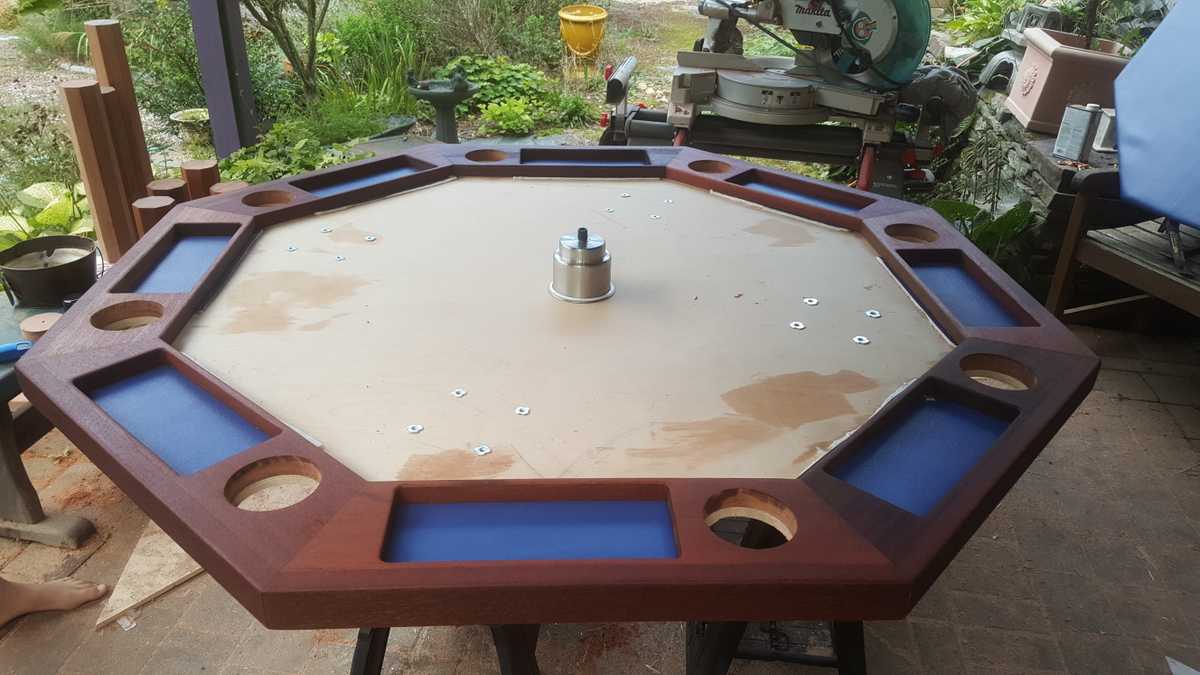
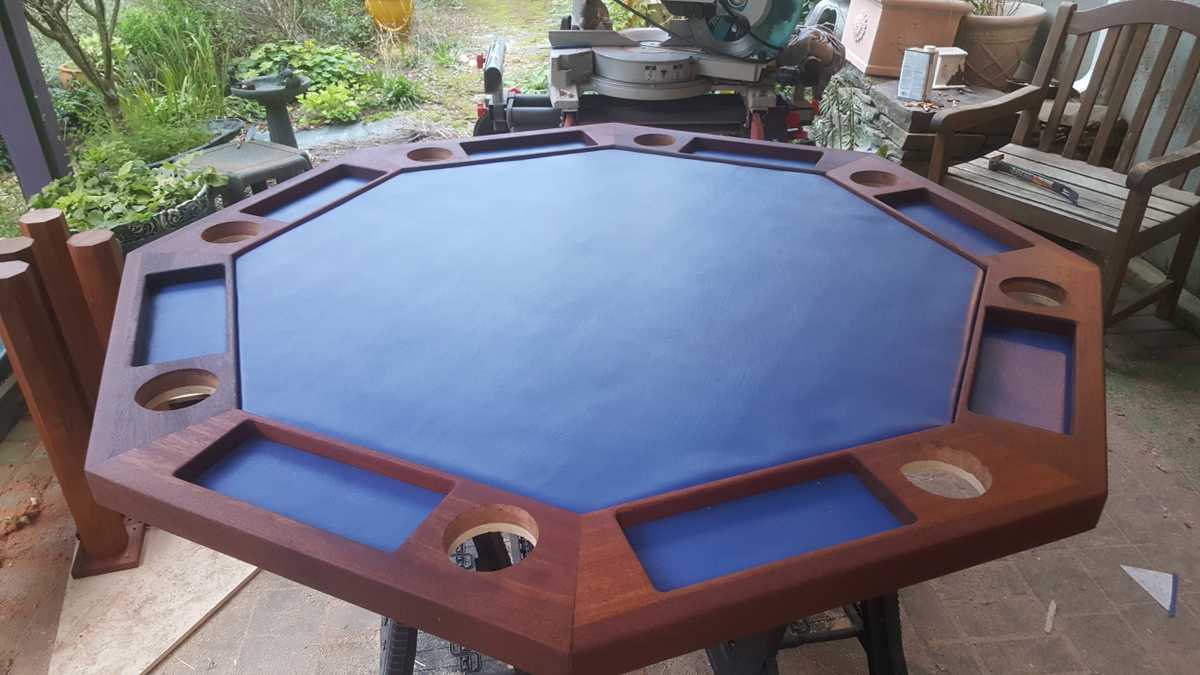
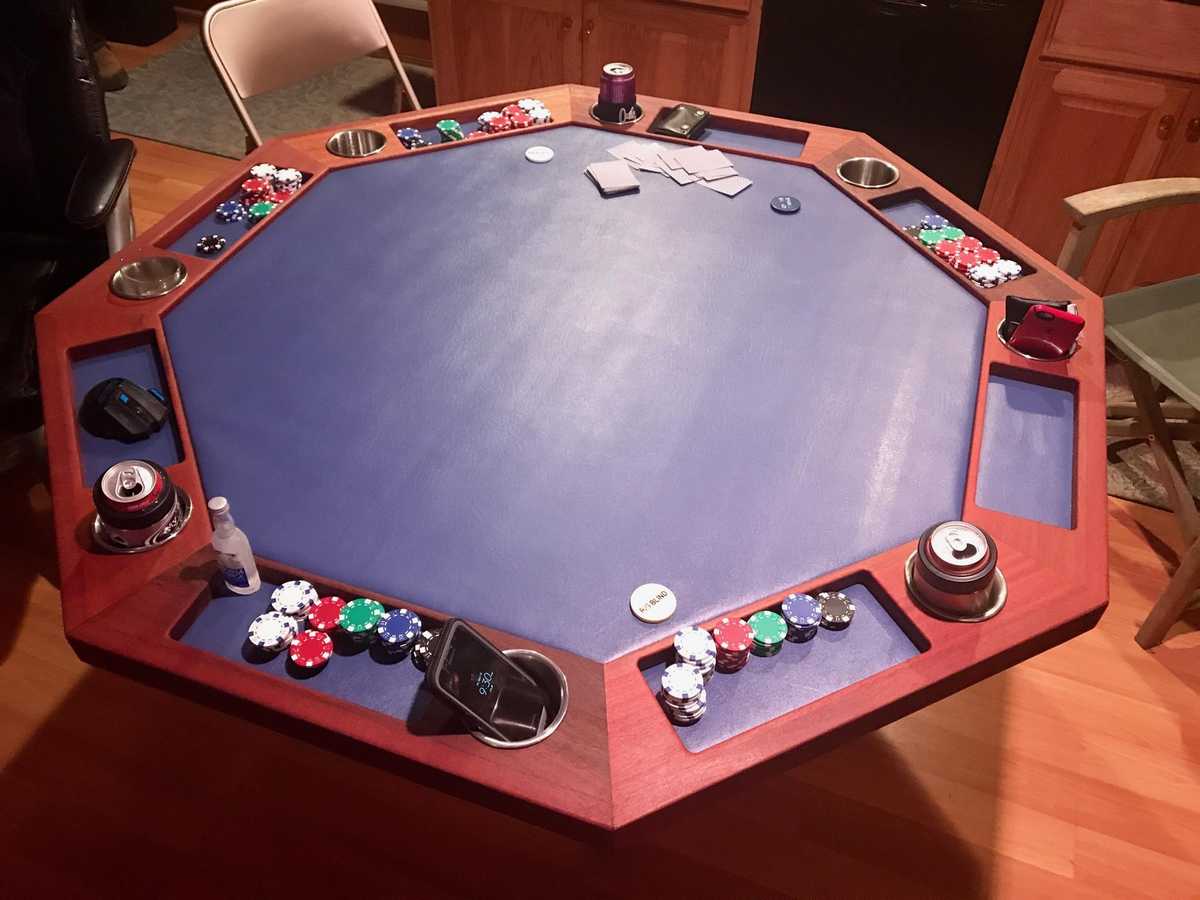
Finished product first...
Setup
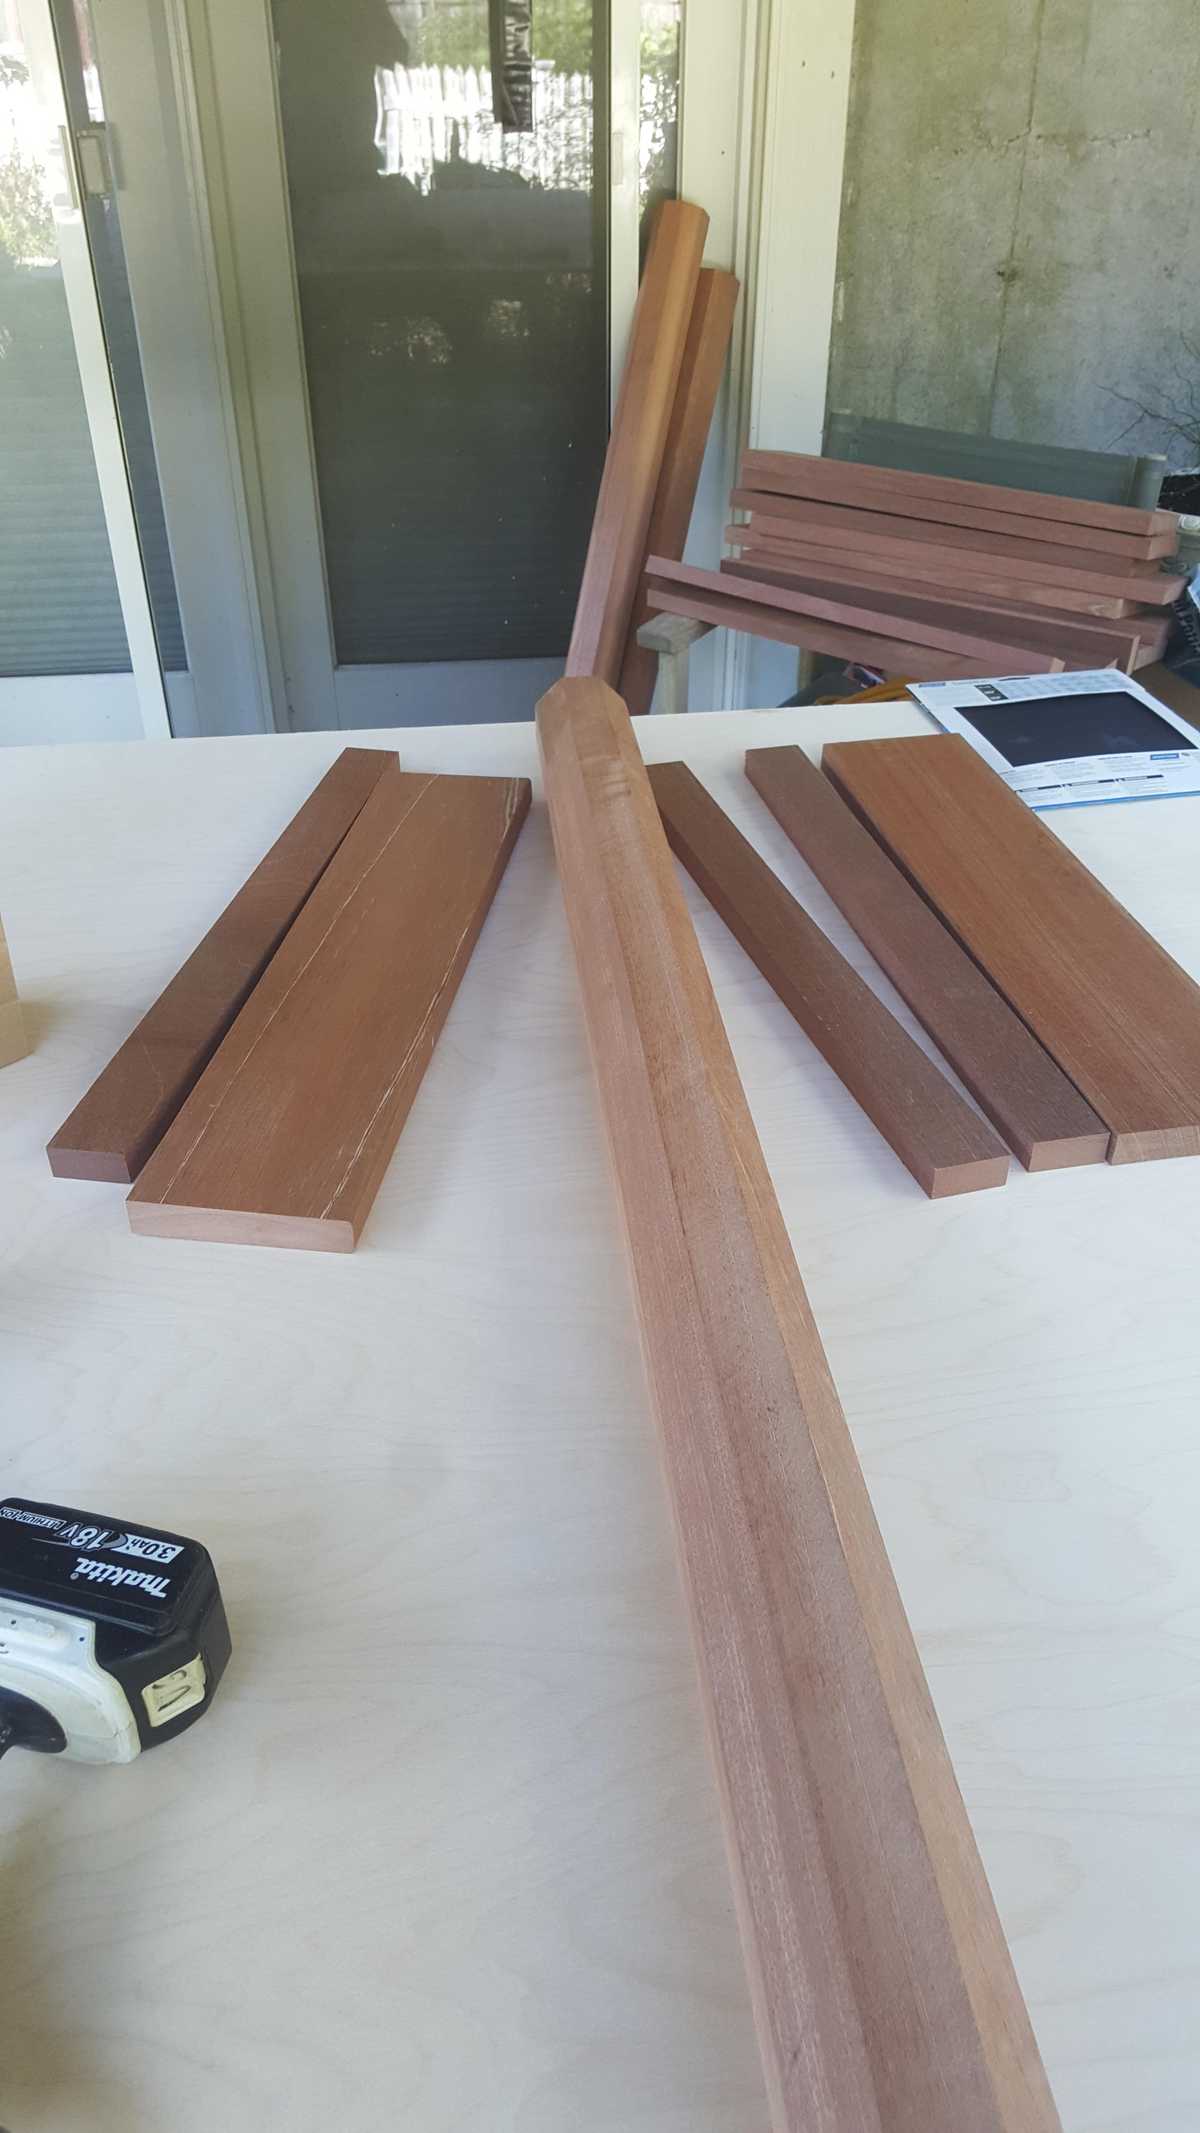
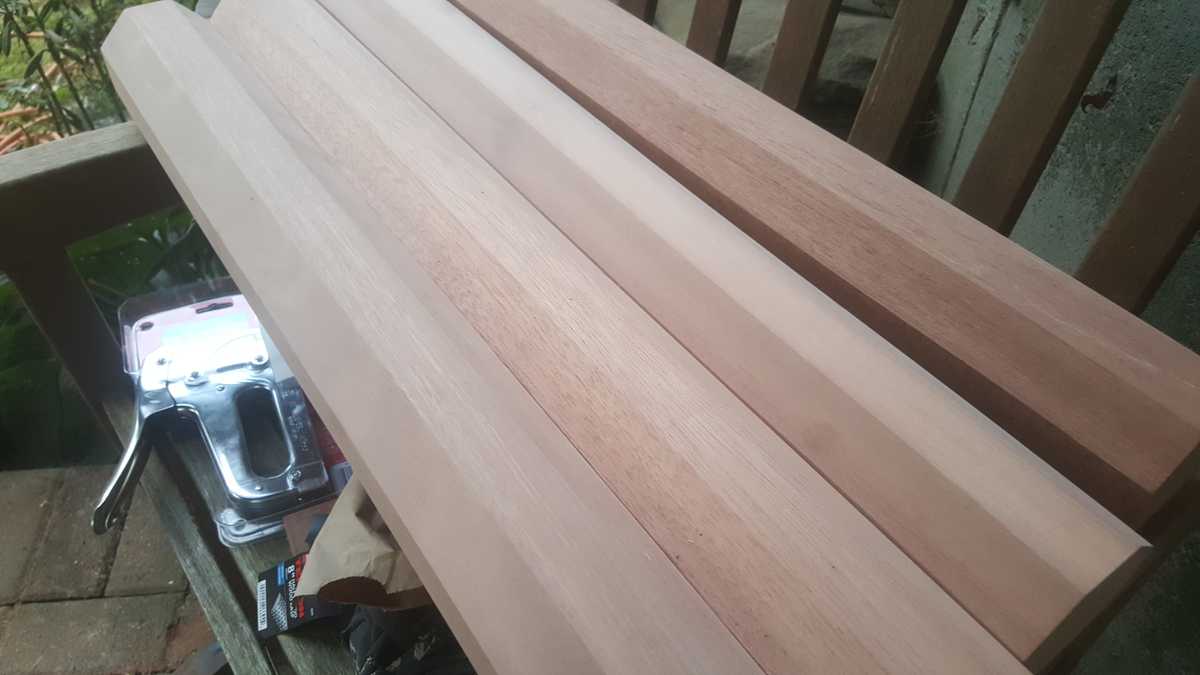
The main part of the ring is made out of 5/4 x 6" Kayu Batu Mahogany decking. The rim is some leftover 2x6 and 2x4 railing pieces that I milled down to 7/8" and ripped to 2". The legs were leftover 4' 4x4s that I ripped on a 45 bevel 8 times to make into octagons. Plywood is 1/2" 5x5 Baltic Birch that I actually had to buy. 5x5 was perfect because the table is 55" across. Got a 2nd 5x5 for the inner octagon just because it was a little cheaper than a normal 4x8 sheet. Cup holders are stainless boat cup holders I got from amazon. I spent almost two hours wandering around Joanne's Fabrics and eventually landed on some sweet blue vinyl for the top. I picked vinyl over felt mostly because it looks better, but it has the added advantage of being water/beer proof and not pilling up like felt does. 1/8" quilt batting under so there's just a little bit of padding.
First Steps
First step was to rip the main ring pieces to take the round edge off one side and make them all the exact same width. The rim I milled to 7/8 and ripped to 2". I rough cut them all to 24" to start. They will eventually be 23" long point to long point, to make a octagon 55" across. The legs I ripped on a 45 bevel 8 times to make into octagons and take some of the bulk down. They ended up 3 1/8 wide.
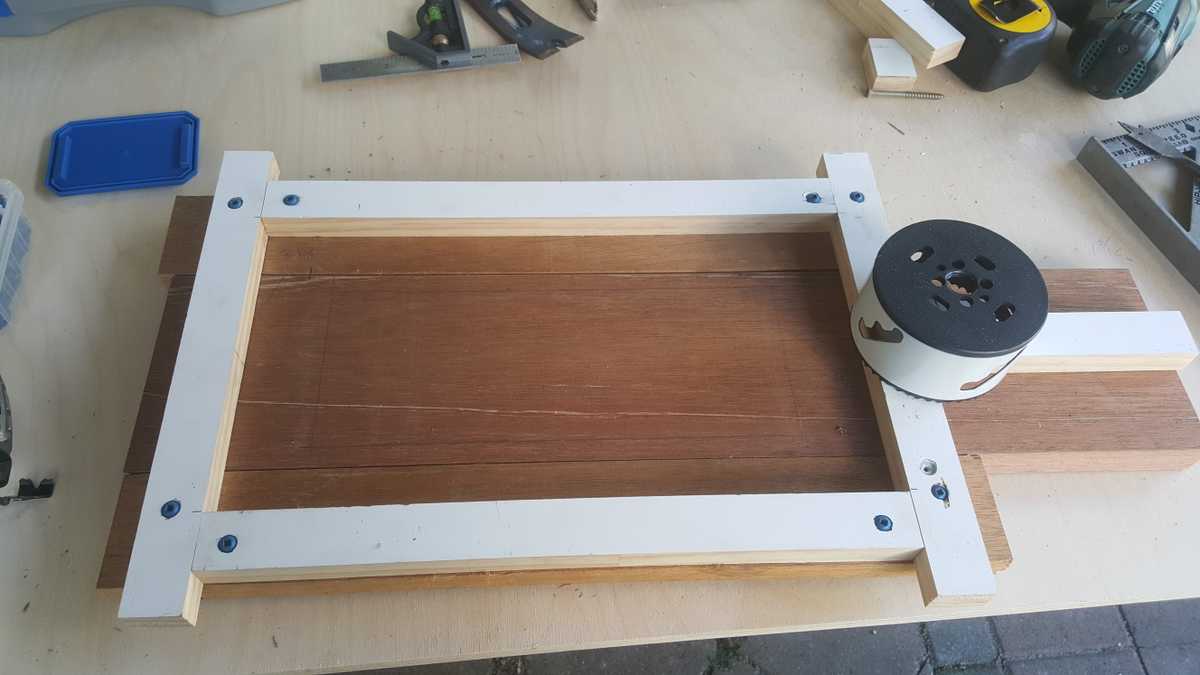
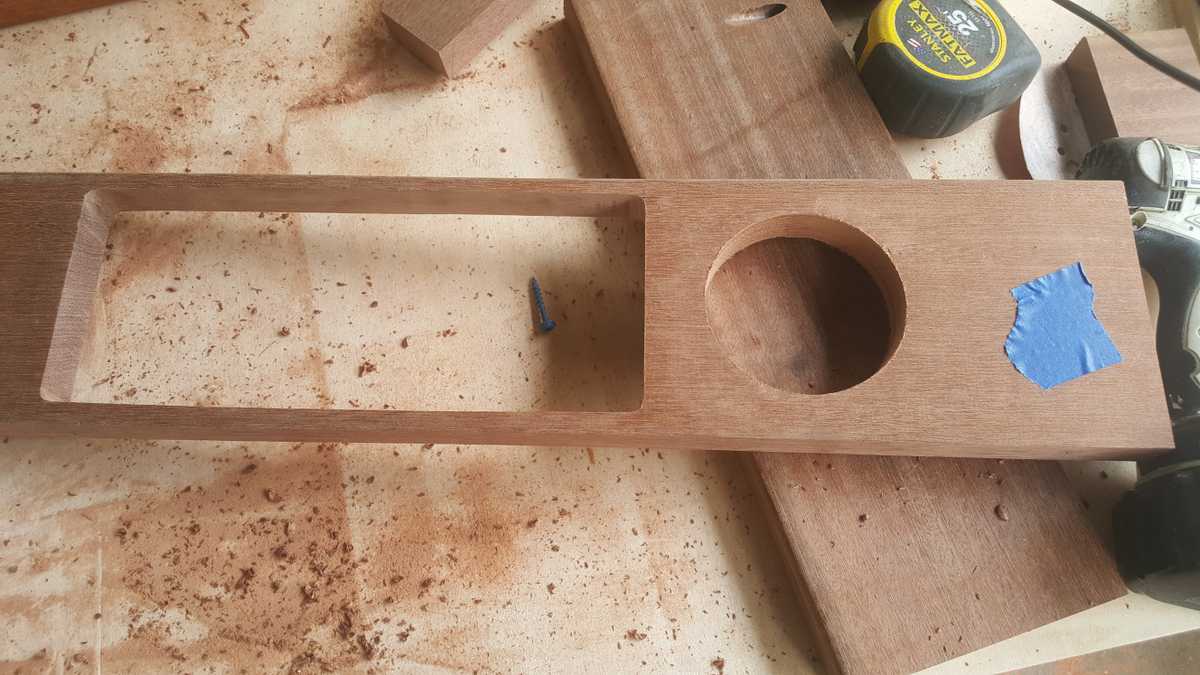
Made a Jig for the chip cutout. Had to figure out how big I wanted it and add for the difference between the edge of my router and the bit.
Picked a number from the left side of the board and marked it on the jig so all of the cutouts are on the same place on each board. I used the small block on the top right to trace along the edge to get the actual cutout line. Also one of the screws to hold the jig down is also the center of the cup holder. Some crafty shit right there.
Cutting The Octagon Pieces
Used a jigsaw to cut out within an 1/8" of the line to make things easier on my poor little router, then routed out the edges. I liked keeping the corners round.
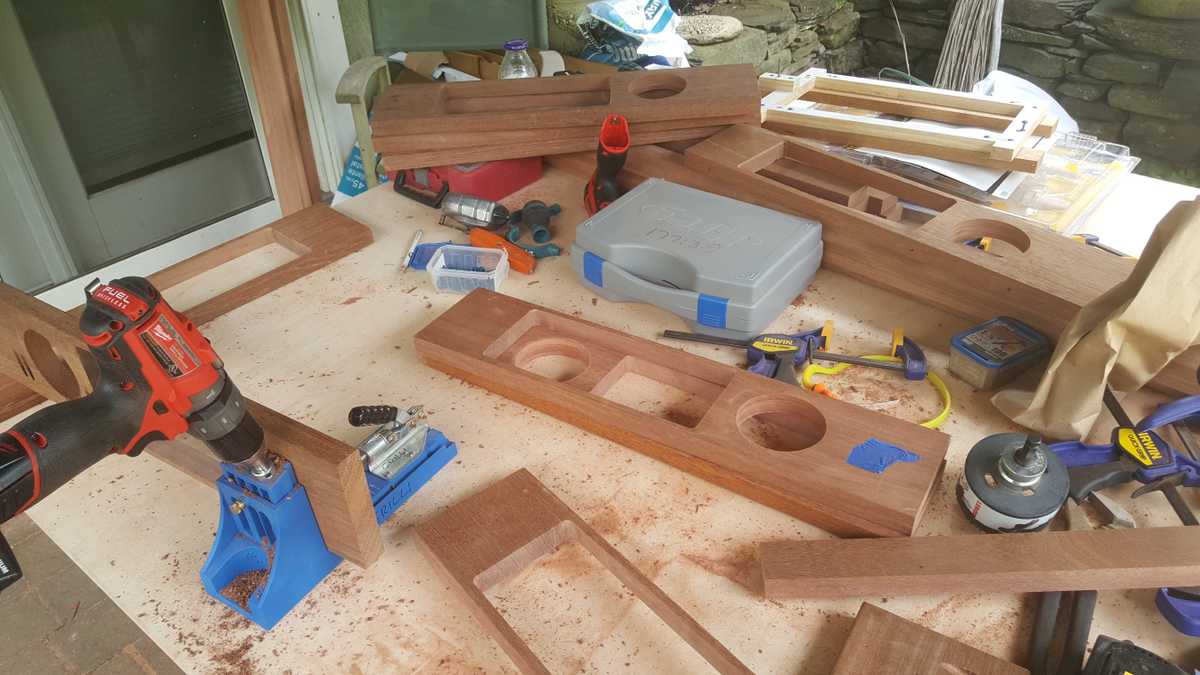
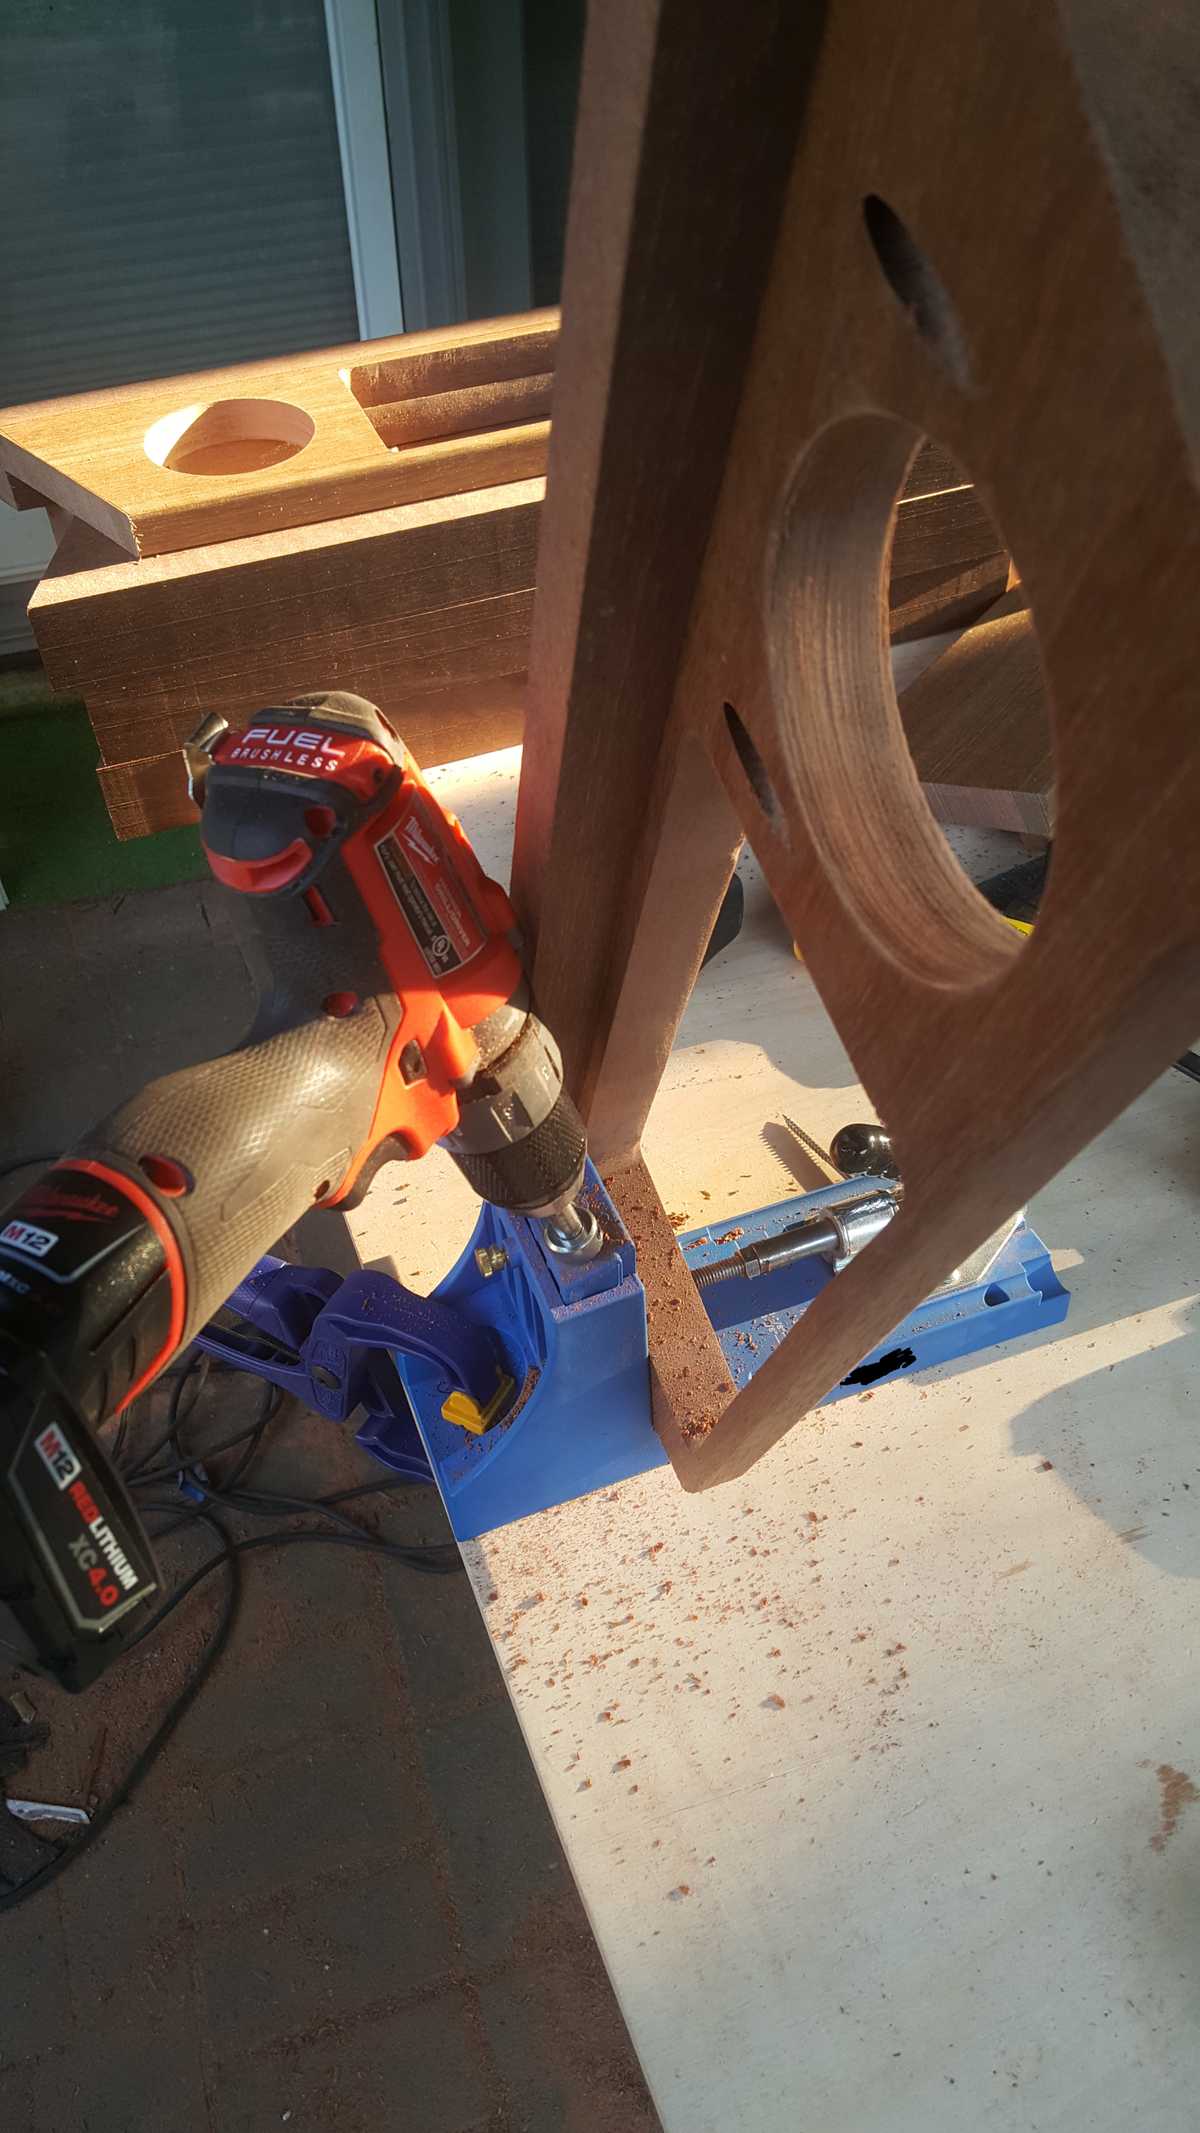
Here I'm using a kreg jig to make some perfect holes for joining the rim to the rest of the board.
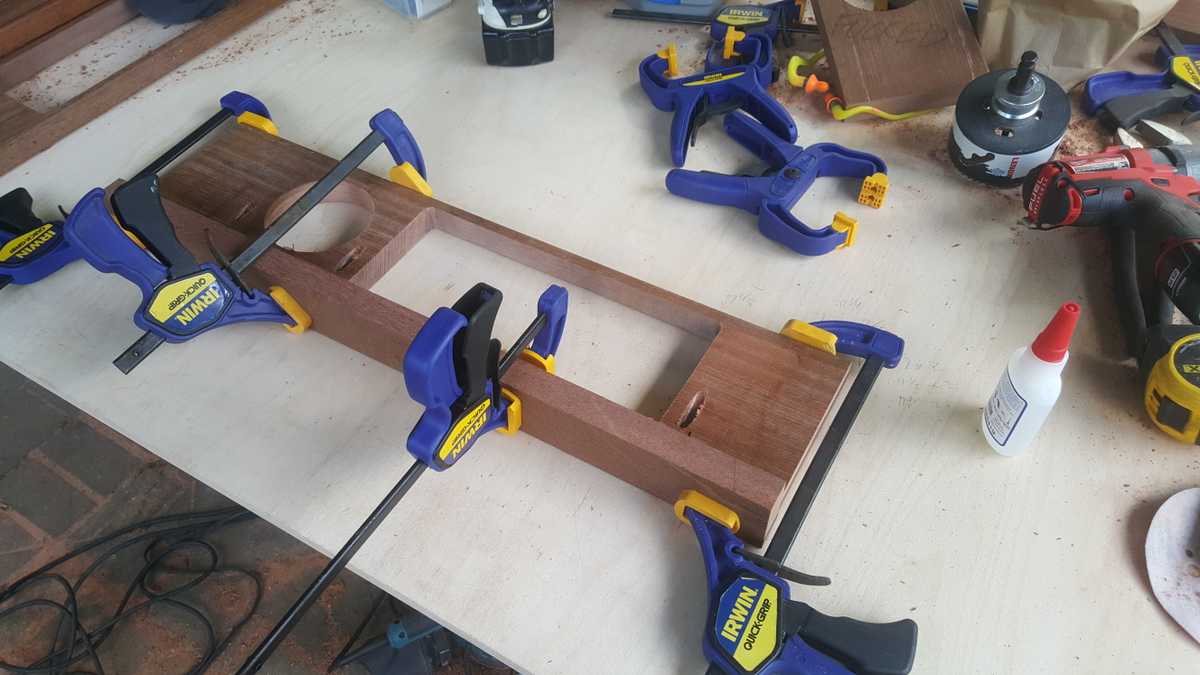
After much debate with coworkers about what adhesive wouldn't be completely useless on mahogany, I went with some 2p10 without the activator so I'd have more than 1 second to clamp the pieces together before it set.
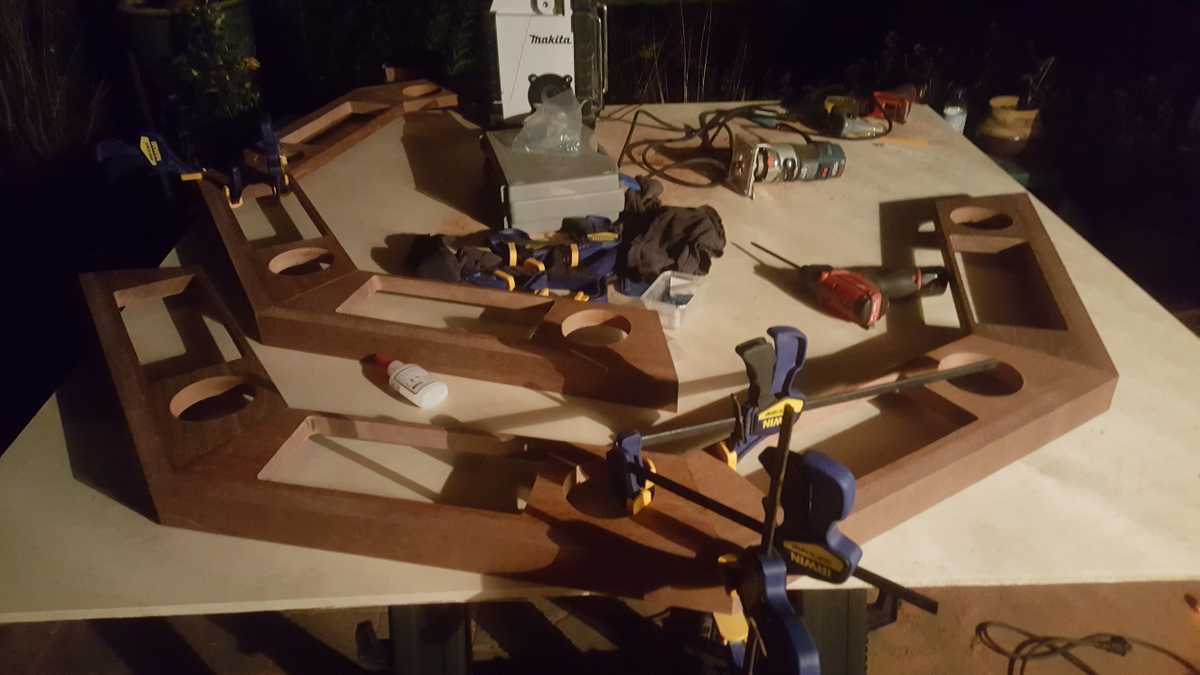
Lots of glue and clamps. Started in this position and flipped it around to make sure the joint was perfect before screwing it in place. I left the clamps on for a while to let it set. 2p10 works fast but without the activator it still takes about 2 hours to completely set
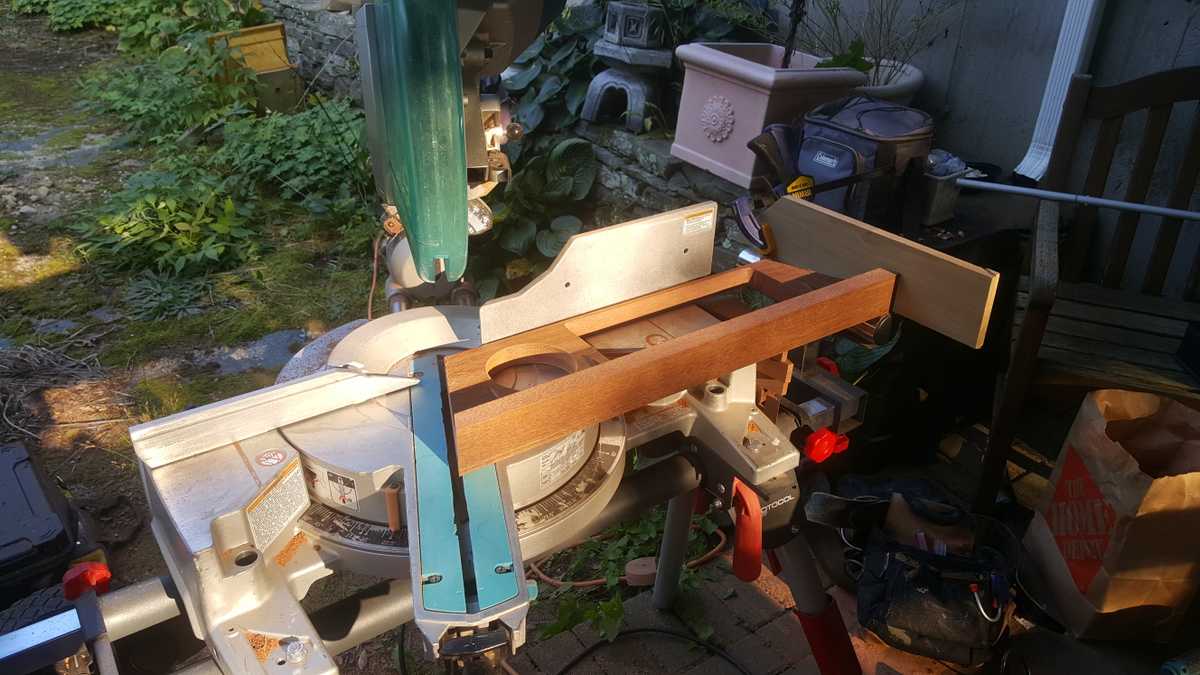
Set up the stop on my saw to make the same 22.5 cut on the same side of each board.
Kreg jig to join the rim together. Not much room to make the holes between the cutouts and the edge of the board. And the rim gets in the way so I can't slide it all the way over.
Joining And Finishing The Ring
Forgot pictures of joining the first pieces together. Here I'm making the halves. Lots of glue and clamps before the screws go in
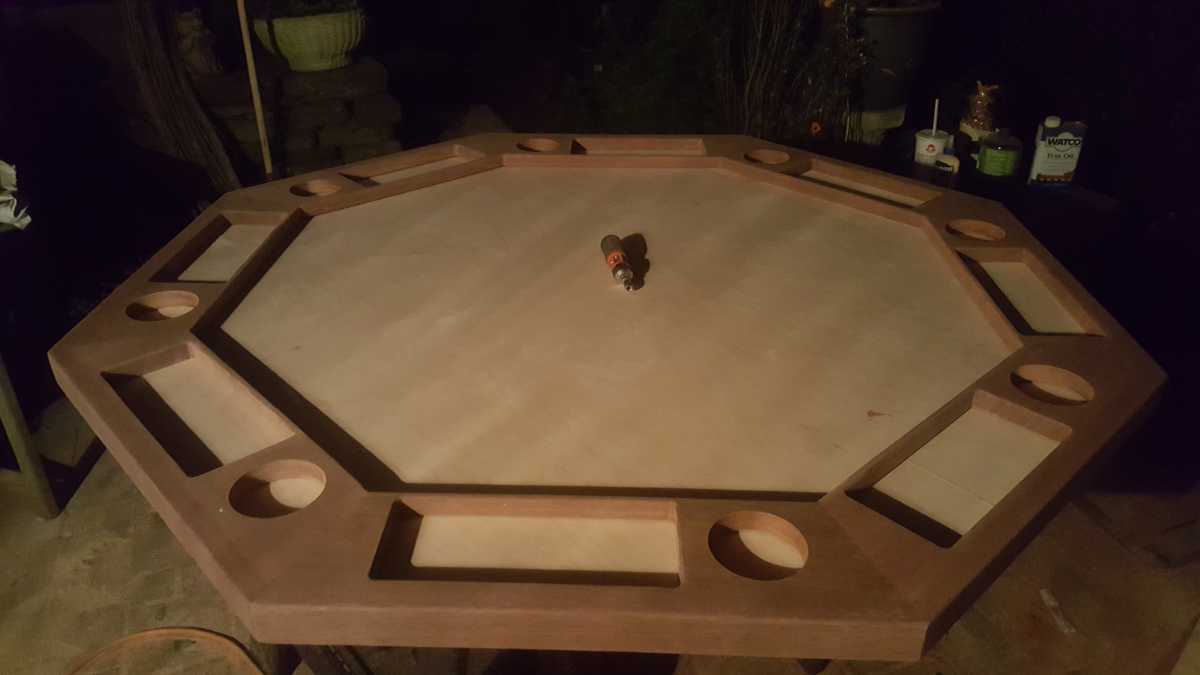
The ring completed and sanded. Went over everything with some 120 grit on an orbital sander. Had to use a multi tool sander to get into the chip cutouts. Citronella candle because these mosquitoes are brutal
Sanded both sides smooth
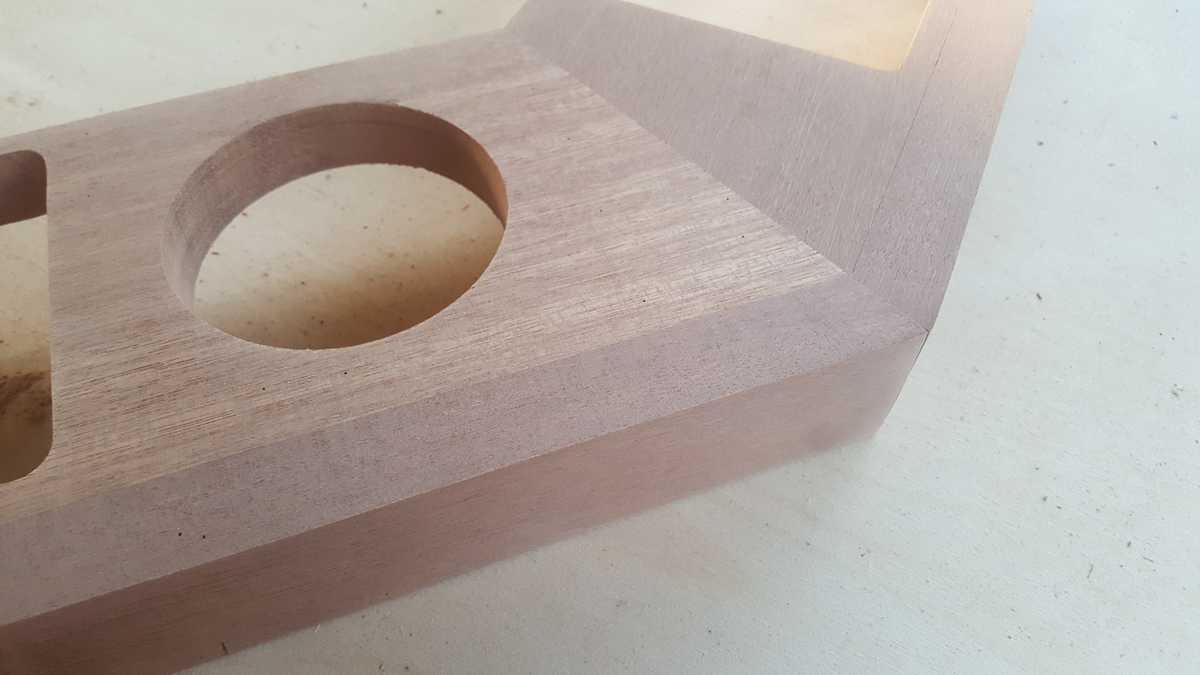
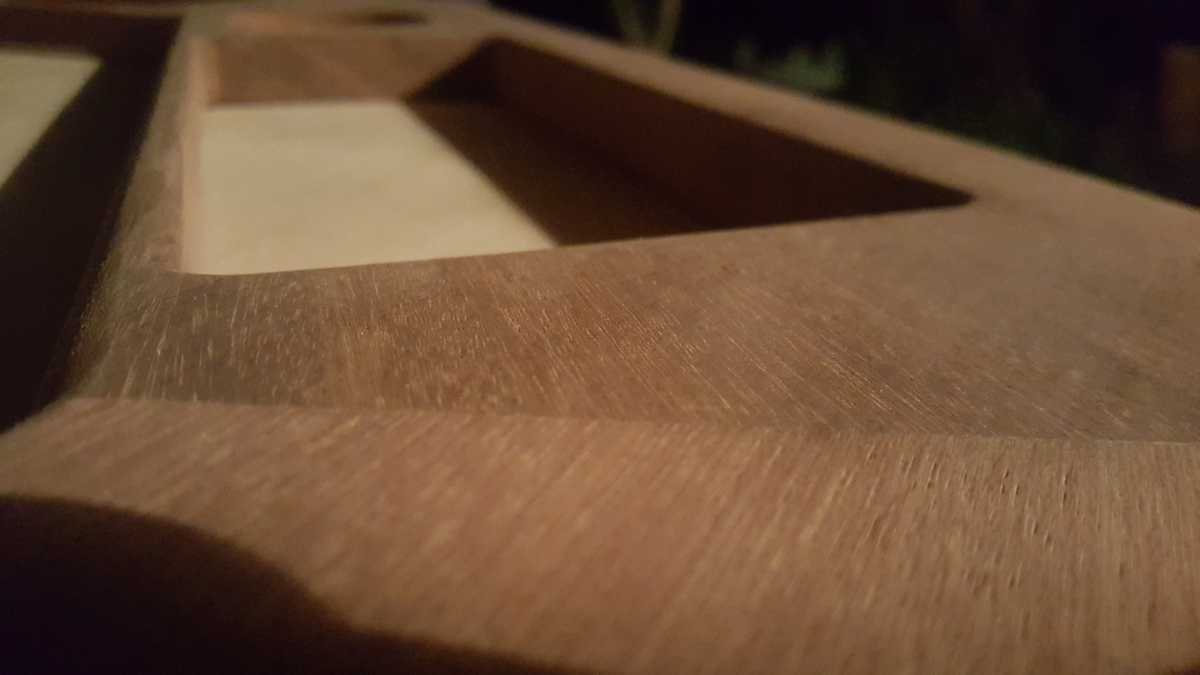
Routed the bottom of the rim with an 1/8" round over bit. I went a little deep and left a lip to be sanded off to try and get the most out of the small round over bit
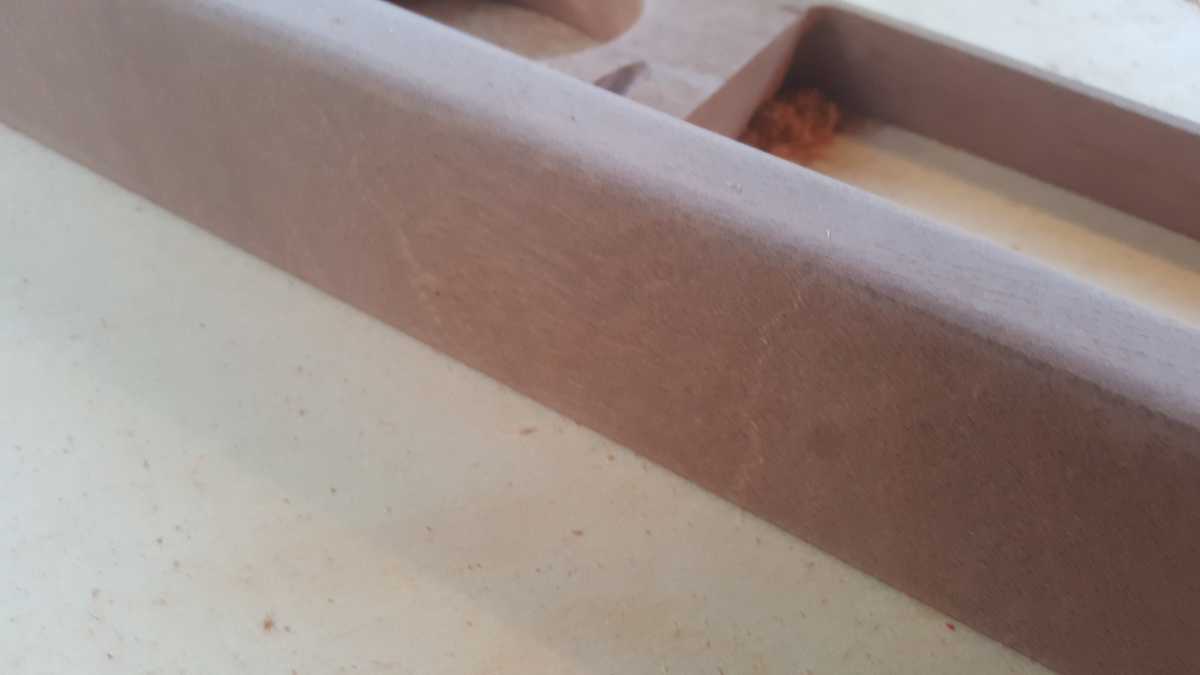
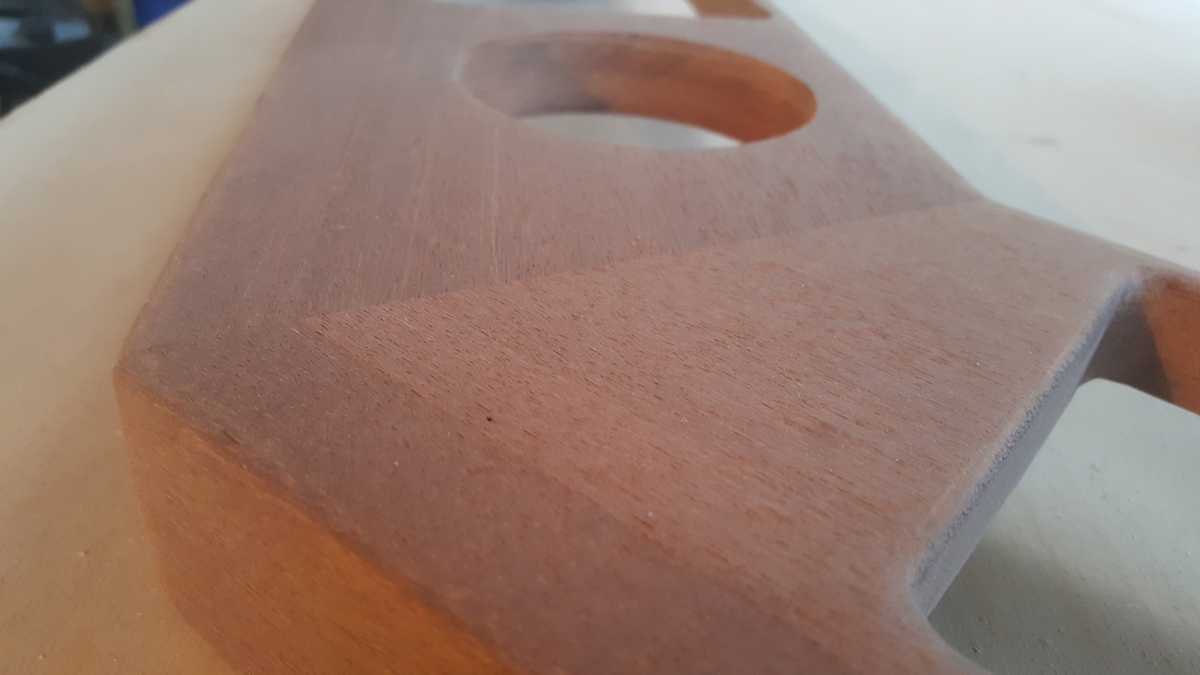
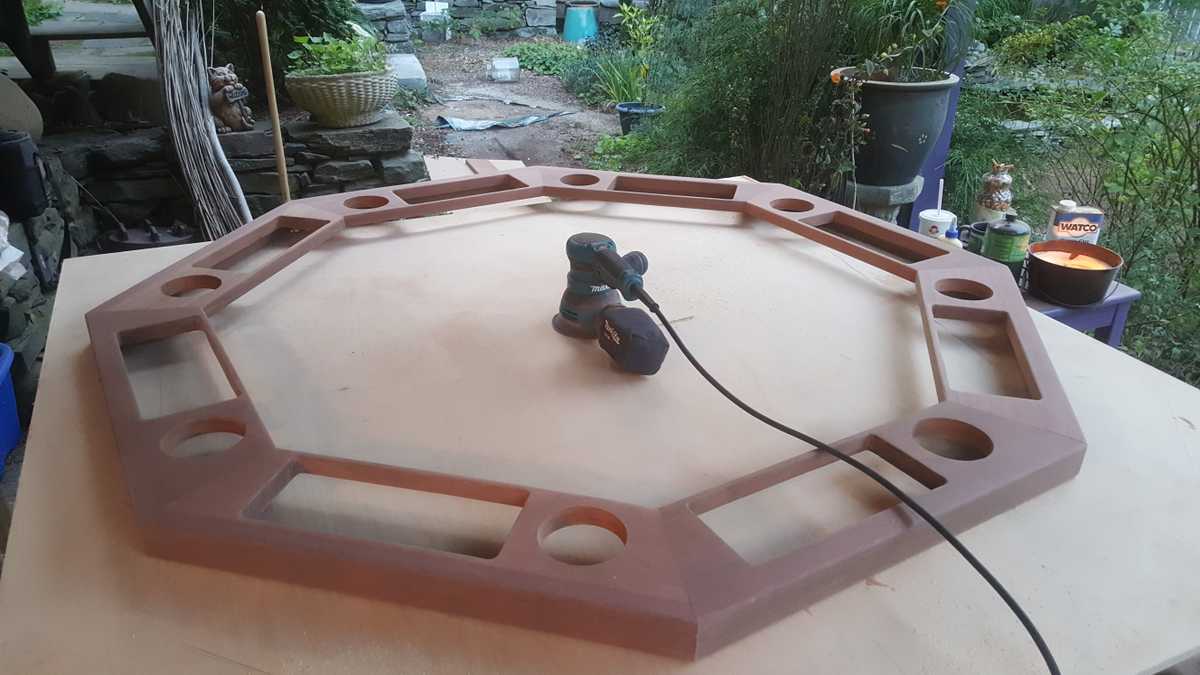 Hit everything with 220 including the inside of the chip holders. Also took a real aggressive file to the inside of the cup holders so I wouldn't need to bang them in with a hammer. (I still had too)
So
Much
Sanding
Table Structure
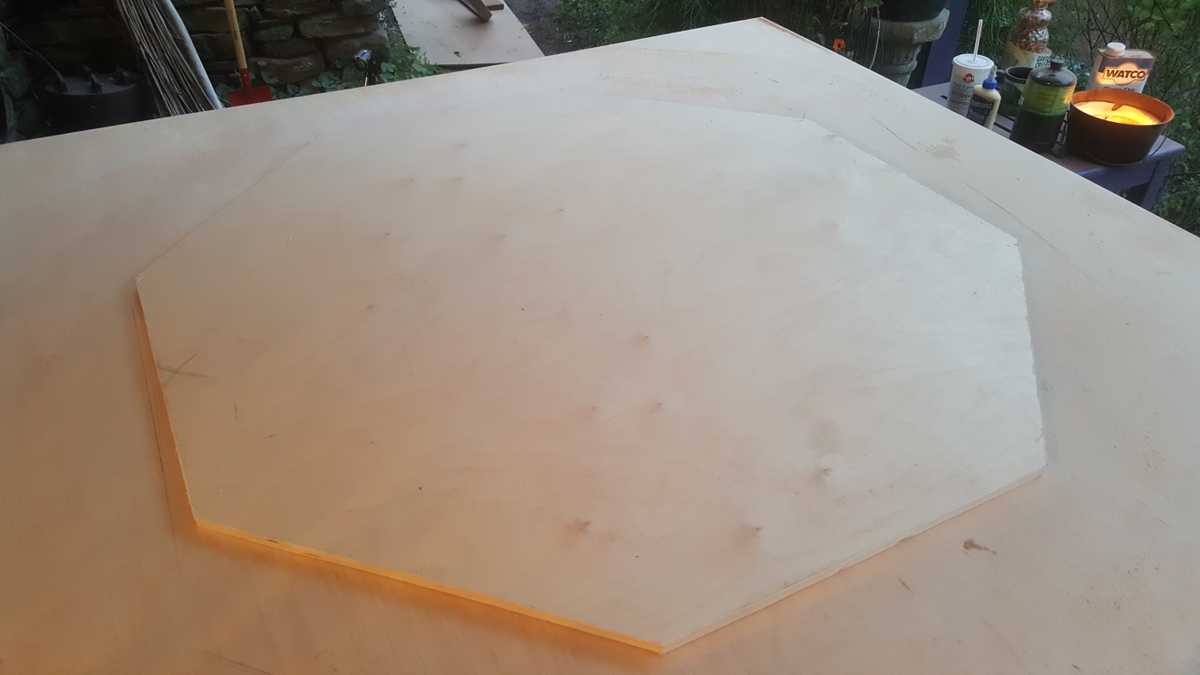
Small inside octagon cut
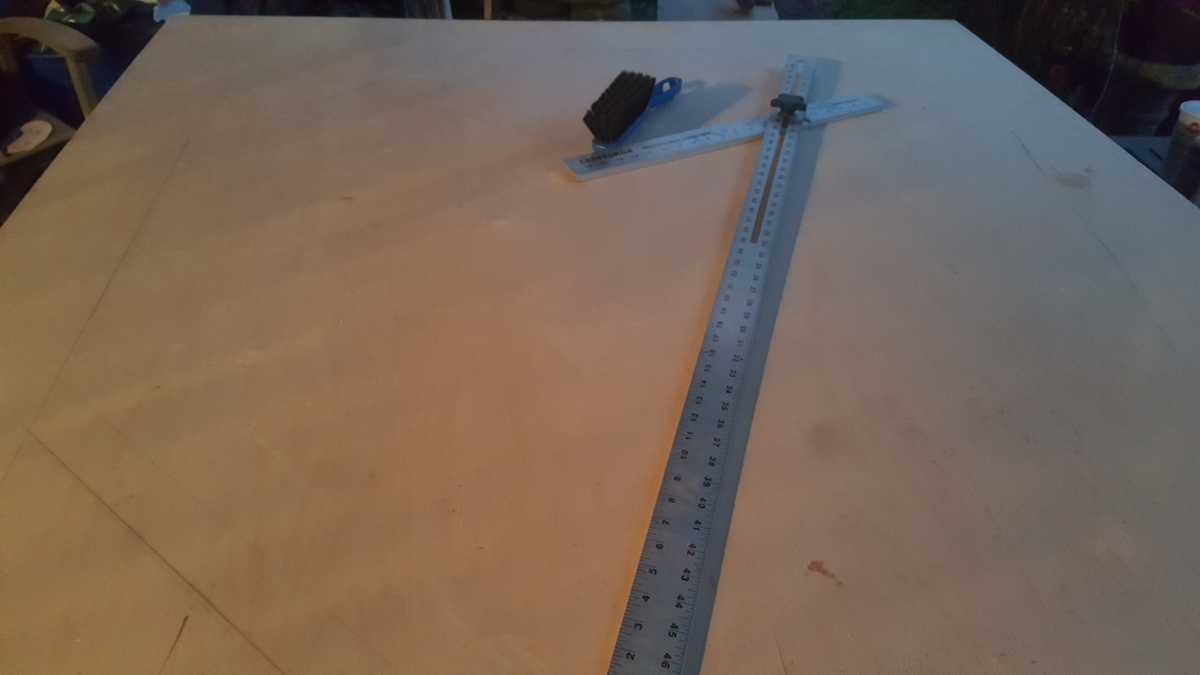
The large octagon I had to trace through the cutouts so i couldn't get it perfect. It was good enough to be able to connect the lines though. An adjustable T square helped but id never trust the angle on these things.
Everything fit together
Went over the whole thing one last time with some 400 grit by hand
Using teak oil for the finish for that nice fresh wet mahogany look. Apply with a poly brush, reapply to dry spots after 30 minutes, and wipe. Not bad for staining in the dark
Let it dry over night. Traced out the cup holder cutouts and marked the ring and large octagon so it can be put back the same way
Legs cut to length. There's no conciseness about the perfect poker table height but most people say somewhere between 28-30". I went with 29" to the rail, and about 28 1/2" to the playing surface
Final Assembly
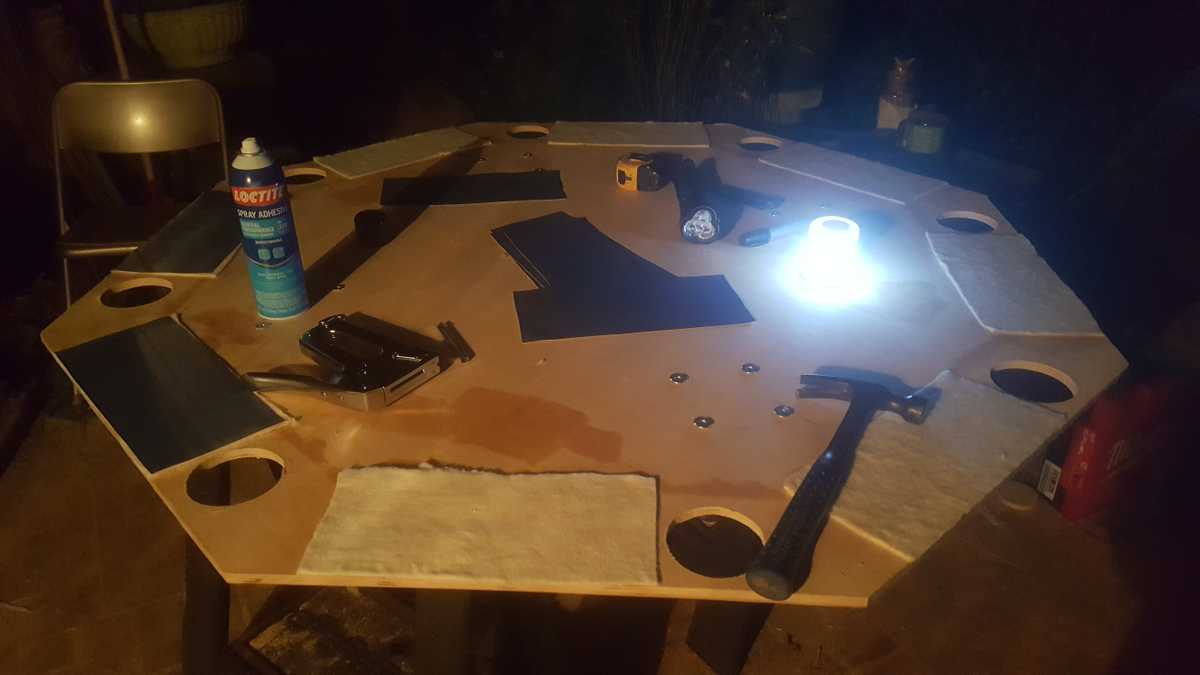
I cut out some extra large pads for the chip area. Starting with the 1/8" quilt batting, I used some spray on adhesive on the plywood and stuck them on. Then sprayed the pads and stuck on the vinyl.
Lookin good, almost done
One more glamor shot
Finally time to attach the ring. I just predrilled and screwed up from the bottom.
Applied the batting to the small octagon. I cut the fabric pieces about 6" bigger than the playing surface then used a ton of spray adhesive. Then I flipped it over, pulled tight and used a hammer tacker to staple the extra on the back. Repeat for the Vinyl. Then finally dropped the whole thing in. Predrilled and screwed up from bottom to attach them together.
Banged in the cup holders and thumb screwed in the legs. And we're done! Time to play some Poker!
Thanks for checking out my poker table build. I made this in 2017 and would love to take on more projects like this! Click here for the origanal Imgur post I made about it at the time, theres even more detail and pictures there.
Click here to contact us if you'd like Built to Code to make a custom poker table for yourself!

